
Miro Pinup
Assignment 8.0
SS1 Students
- 2 Exterior view context renders for SS1 Project
- 4+ Interior space renderings SS1 Project
ENV 3 Students
- Build site context fully using Twinmotion
- Drop different iterations of your facade schemes render multiple versions
Procrastination

Chair Design


Workflow
Getting Started
- Import front view image to front view
- Import right view image to right view
- Adjust scale (seating surface to be 16” high)
- Adjust scale between front and side view
- Adjust position
- Establish Center line
- Organize layers
Shaping arms
- Create a pentagonal shape, symmetric
- Move and copy the object through the upper armrest
- Adjust scale, shape, and position
- Record History and Loft
- Adjust parent lines to create the right form
- Repeat this process for front and rear legs
- Keep the inner lines to be vertical or horizontal
Creating bridges
- Create a hexagonal symmetric shape
- Align them in a straight line
- Record History and Loft
- Create a archiving point using a layer
- Draw a curve in the side view to trim the hole in the legs
- Draw a straight line between holes and align hex lines
- Loft Hex lines
- “BlendSrf” Command to blend between holes
Seating part
- Mirror copy the assembly to the other side
- In the side view draw two lines with slight dip
- Mirror copy side one
- Record History and Loft
- Adjust the seating surface by editing the parent lines
- Draw a line in the front view to Trim the edge
- “OffsetSrf” command to add thickness @0.5”

Assignment 10.0 Creating a Chair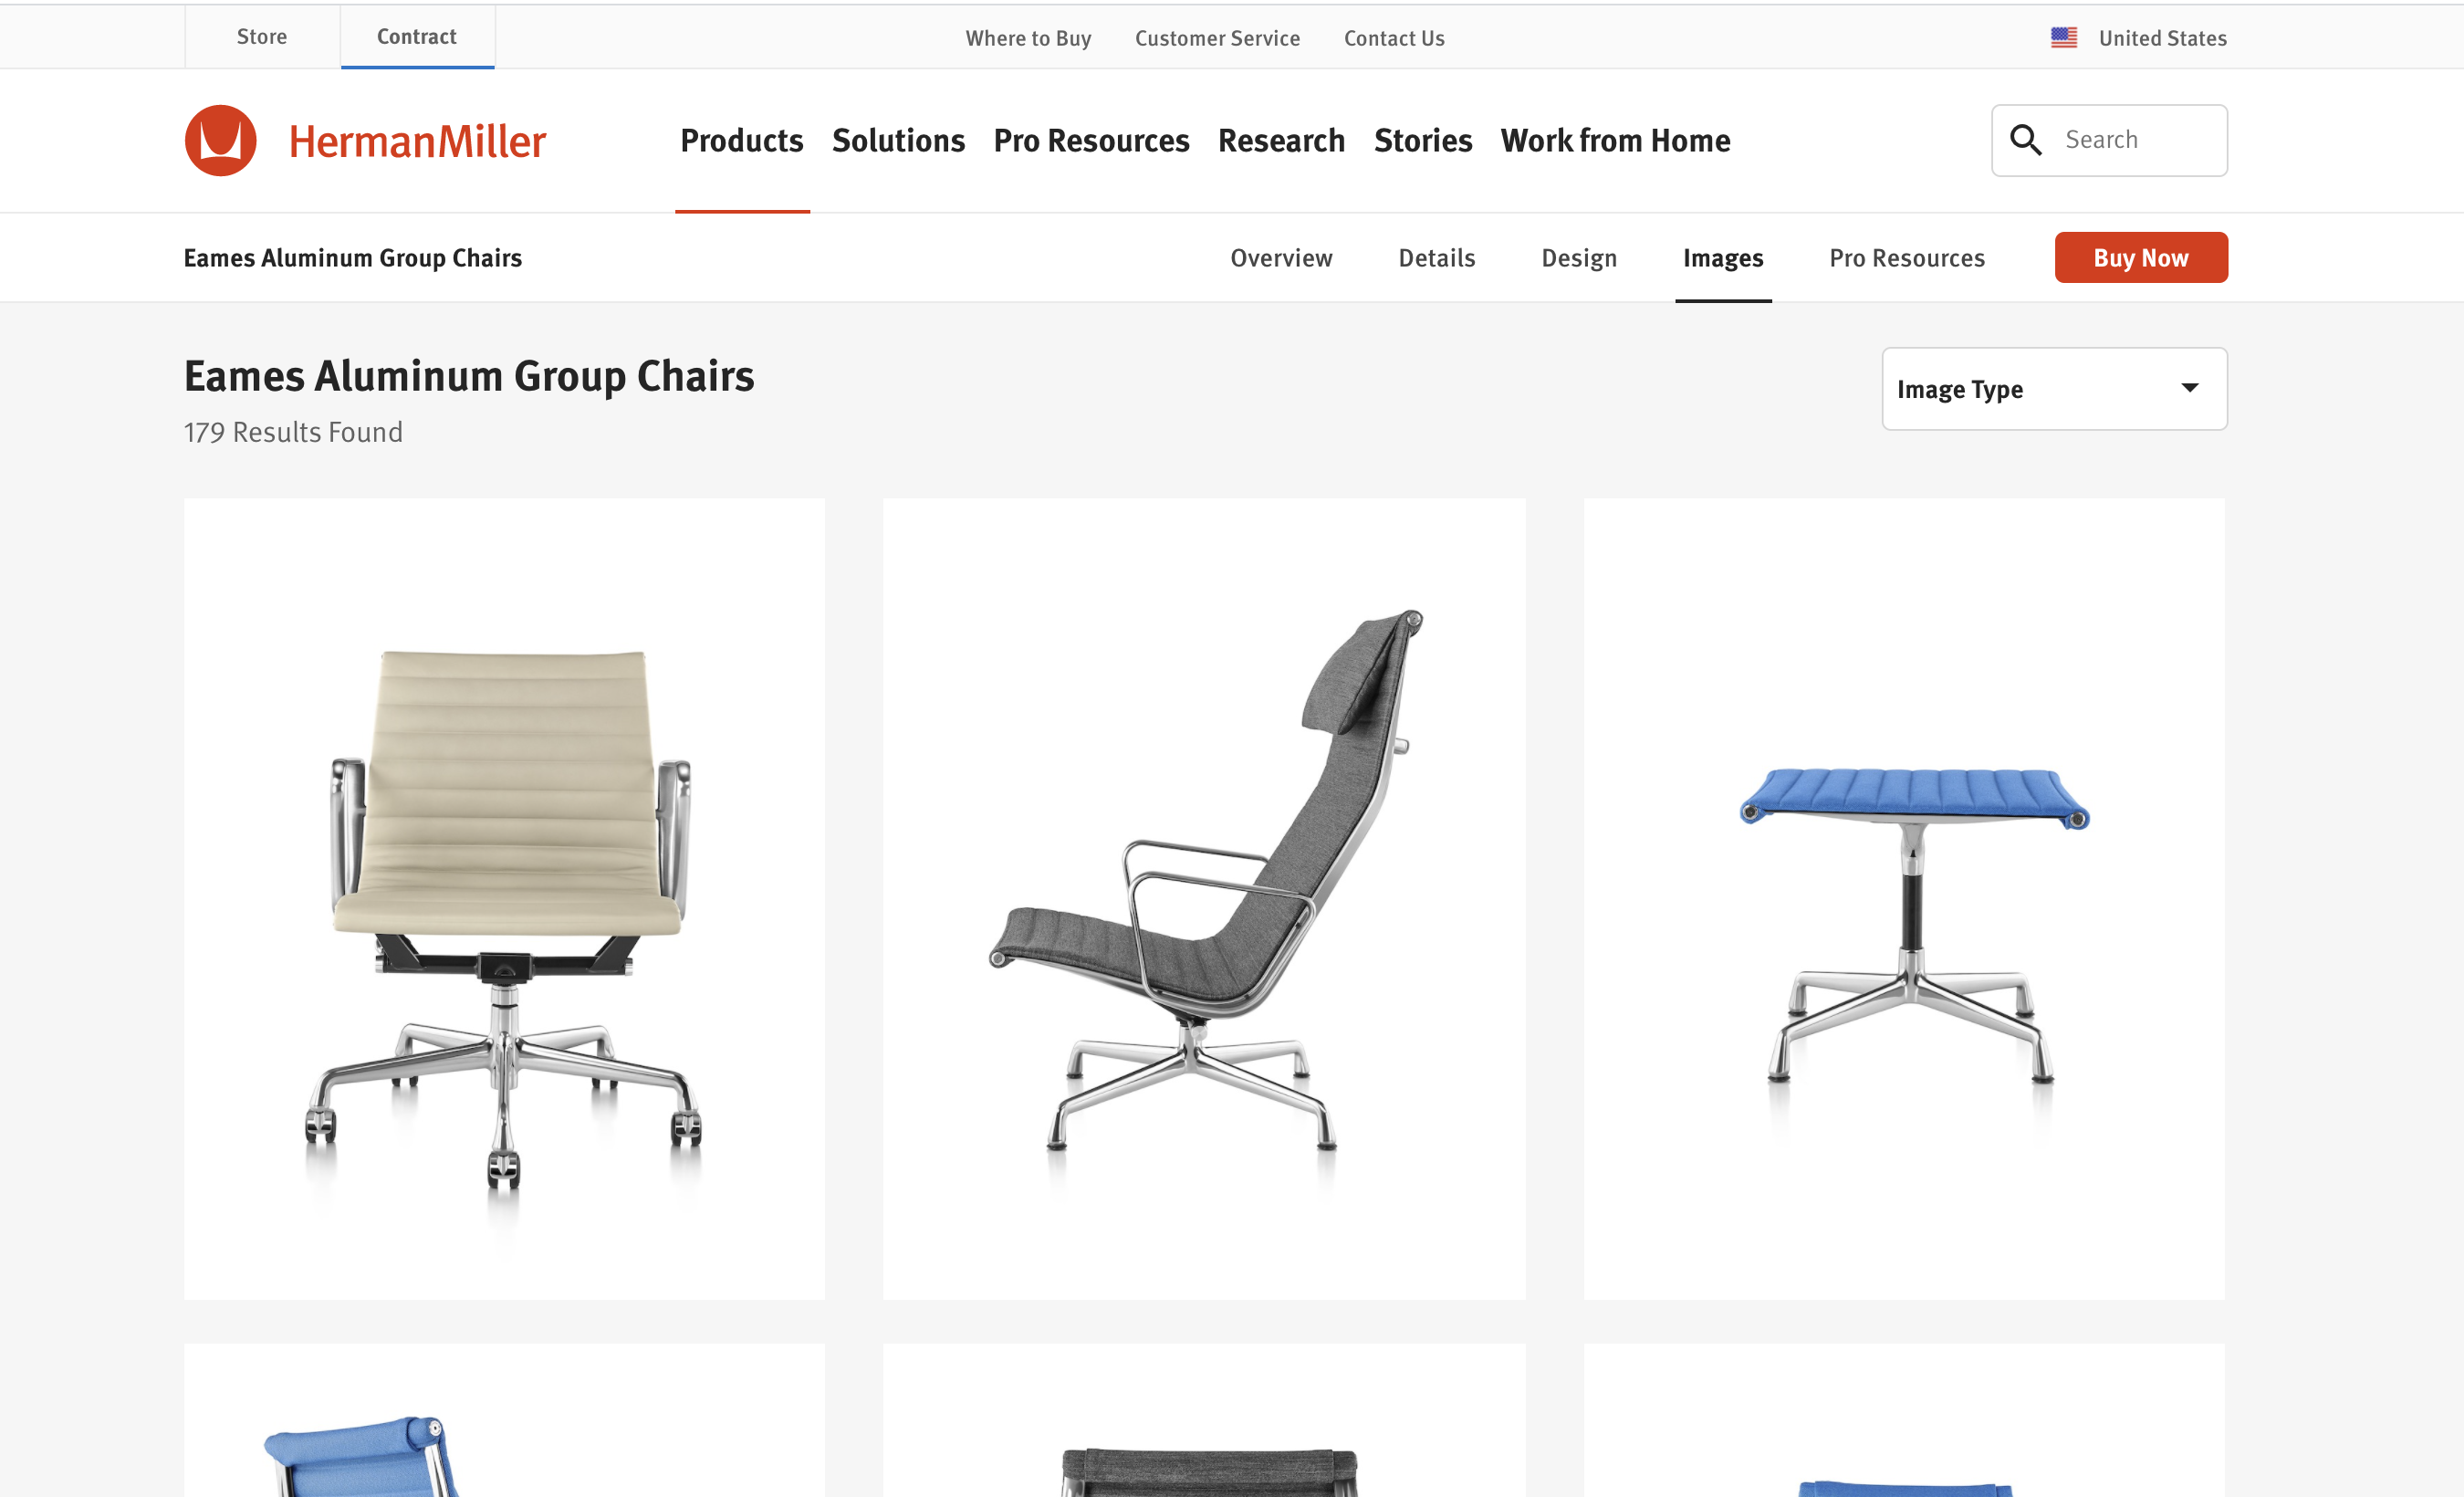
- Go to furniture maker’s website
- Find front/side view image or drawings
- Build the furniture piece exactly as it is
- Upload the 3d model on Google Drive
https://www.dwr.com/office-side-chairs?lang=en_US
https://www.dwr.com/living-lounge-chairs?lang=en_US