Assignment 10.0
- Storyboard for your concept animation
- Concept animation for your Previous Project (30 seconds)
Assignment 10.1
Exploded Axonometric animation for your project 30 seconds max (Preferably 15)
Assignment 10.2
Storyboard for your final video (2:30 max)
Final Presentation Deliverables for ENV3/DL3:
- Vicinity Diagram
- 3D Site Diagram
- Program & Circulation Diagram OR include program & circulation content in 10.1 Exploded Axon Animation
- Operative Diagrams for Facade
- Dioramas
- Exploded Axon Animation
- Animated Concept Diagrams
- Detailed Exploded Axononometric
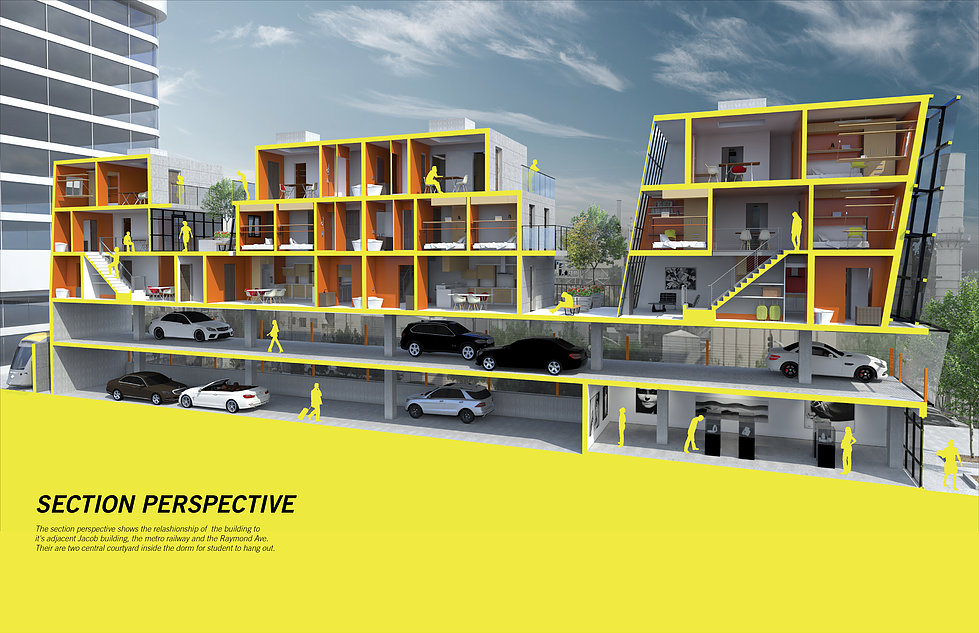
- Section Perspective
- Final video (2:30 max)
Section Perspective

YouTube tutorial part 1 – Rhino model prep
YouTube tutorial part 2 – Illustrator perspective grid
Steps:
- Find a good section cut using ClippingPlane
- Set the viewport property to Two-Point Perspective
- Adjust the lens length
- Save as a Named View
- Hide/delete everything not visible in the view
- Use Section to make the section cut poche outline along your ClippingPlane
- Clean up the poche outline using Rectangle, Trim, Fillet, Extend, Line …
- Use PlanarSrf to create surfaces from the poche outline
- Split the model to render
- Add fixtures, furnishings, equipment, people – MeshOutline detailed blocks
- Convert guest rooms to Blocks and make copies
- Apply different color to the poche cut (Photoshop/Illustrator post-render or Rhino pre-render)
Exploded Axonometric
- Download Slides Here
- Roundtable discussion on drawing type
- Perspective view vs planometric view
- Angle to be seen
Assignment 11.0
- Section Perspective of the entire building cutting through
- Show site context
- Add a manageable level of detail in the model
Assignment 11.1
- Detailed Exploded Axonometric of your entire building
- Add a manageable level of detail in the model

